
I found some old fence boards in our side yard and had Danny cut them to the desired lengths (don't trust myself with power tools that have spinning blades). Between all of the crafts that my mom and I do, I had any and all paints and brushes that I would need. So far so good! For one of the pieces, I needed some wire, which we also happened to have! SCORE! And finally, I needed a few eyelet screws which I was also able to find in a handy little kit of nick-knacks that Danny bought me. The only thing I didn't have was a couple of brackets, which cost $1.99. I probably could have found an alternative method of attachment, but oh well.
Project #1:
Who ever said Barney wasn't good for anything?
I saw these cute little ghosts on a Barney episode once and thought
they were adorable, but even more so when made from
little baby feet!
Rylee started by painting the plank black (I had spray primed them
previously so the acrylics would not soak into the wood).
I saw these cute little ghosts on a Barney episode once and thought
they were adorable, but even more so when made from
little baby feet!
Rylee started by painting the plank black (I had spray primed them
previously so the acrylics would not soak into the wood).
Then the fun part was doing the foot prints! Fun, but challenging!
Have you ever tried to get a 2 month old to stop wiggling her toes?
Luckily, acrylic paints wipe off easily. I think it took us
Luckily, acrylic paints wipe off easily. I think it took us
three tries before we got a decent print! Rylee's feet were a little bigger than
the board. The dark area is wet paint where I had touched up from a
previous goof! I also went over the footprint with an extra coat of
paint for better coverage.
the board. The dark area is wet paint where I had touched up from a
previous goof! I also went over the footprint with an extra coat of
paint for better coverage.

After these dried, Rylee painted the ghost faces herself!


Then, I cleaned up her lines a little bit, and added the text for a super simple
little sign that I can just prop up in my from yard,
or hammer to a stake to stick in the ground!

Project #2
Again I started with 3 cut and primed pieces of wood, all the same size.
Rylee painted each a different color for me, but that's all she really could
do for this one. I wrote the text on each plank
and then attached eyelet screws to each one.
and then attached eyelet screws to each one.

Then I attached them using the jewelry wire that I had, twisting it with
pliers to make sure they were connected well.

And here is the final product, a hanging sign!

Project #3 (my favorite)
Not only is this an adorable sign, the footprints make it a keepsake
(as is the ghost one).
We started with two pieces of wood the same size. Rylee painted
them black and did the footprints again.
We started with two pieces of wood the same size. Rylee painted
them black and did the footprints again.

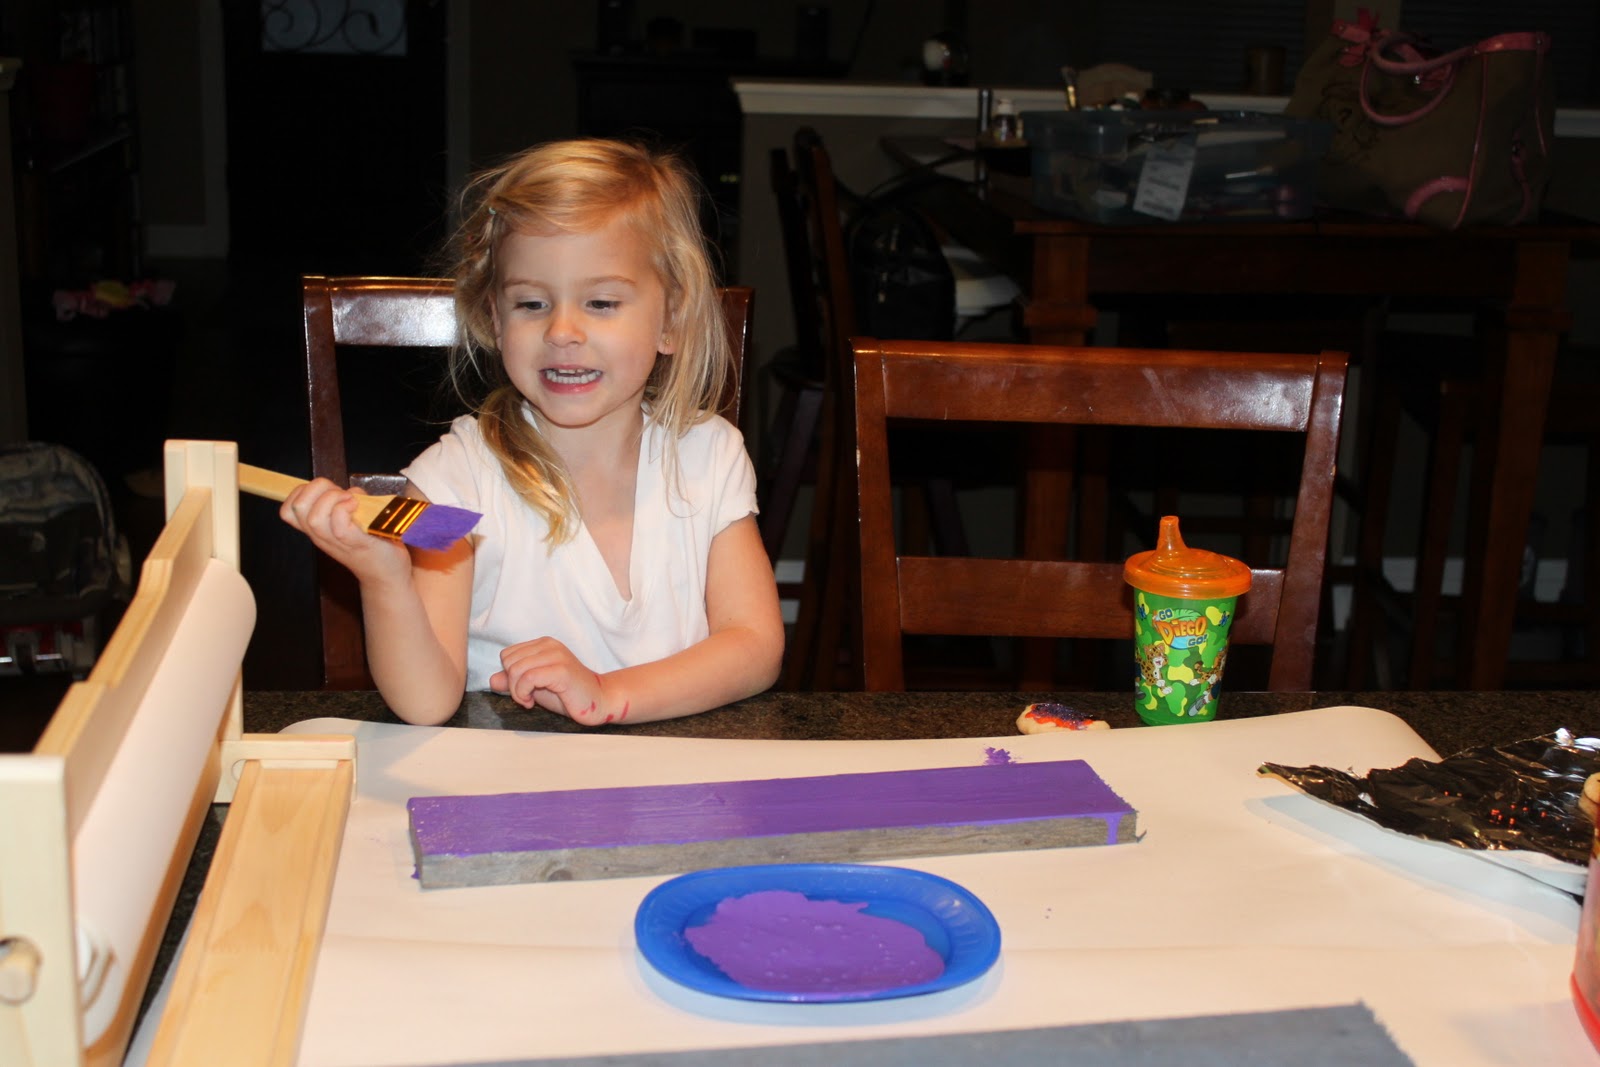
I had Rylee's help on a few other painting jobs
(the purple area and the pumpkin and stem).
Then I finished with the text, and some other detailing.
I kept the two planks separate just for ease of moving them
around while working. I attached them when I was finished with the little
brackets and some screws. These brackets aren't the best, but they are all
I could find at Lowes (I must have been in the wrong isle).
They should technically be longer across the boards, but for the sake of this
project they will do as this will just be propped up against a wall.

And here is the finished product! SOOOOO cute
(if I do say so myself)!

Although I was aiming to do these for FREE, I think $1.99 for these three adorable decorations is a steal! Not only were they easy, but fun! And they will last a long time. And every Halloween when I pull them out I will think "Awww, look how small their feet were!"

No comments:
Post a Comment